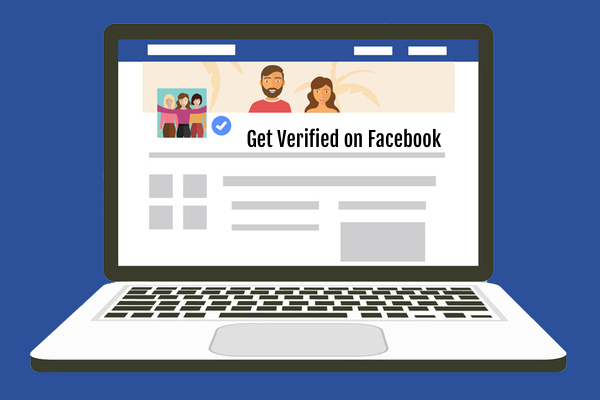
It is critical to have your Facebook page verified. A verified page is easier to trust. A verified Facebook page will have a check badge at the top. This will confirm that a legitimate person who is associated with the subject matter on that page is running it.
Verification is important as it ensures people that whatever is shared is legitimate and sensible. People might be suspicious of certain sites if they cannot see that they are run legitimately. With verification, you show that your site is trustworthy and useful. You are displaying full control over what you are doing with your Facebook page.
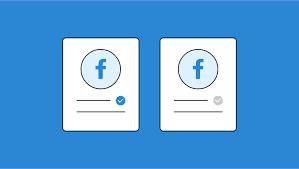
There are two types of check badges that can be found on a Facebook page:
1. A blue check badge says that Facebook can confirm a page of a particular public figure or brand is authentic.
2. A gray check badge states that Facebook has confirmed a page for a business or other organization is authentic.

Your business will more than likely have a gray check badge. This is due to the professional nature of your site. People trust verified pages more than others. They will support those pages because they know the information on those pages is accurate, detailed, and honest. They will see that a page is also active and regularly posts information.
Verification is not required when marketing your business on Facebook. When you consider how people trust verified pages more than others, it is best that you aim to get the page verified anyway.
Steps for Getting Verified
There are a few steps to get verified. You will need to get a phone ready:
1. Get a profile picture and cover photo applied to your site.
2. Go to the Settings section at the top of your page.
3. Go to the Page Verification section of the General menu.
4. Click on the Verify This Page link.
5. Enter a phone number for your business. The number should be publicly listed.
6. Click the Call Me Now option.
At this point, Facebook should call the number that you sent. It will give you an automated message. It only takes a few minutes for the message to be sent.
7. Enter the verification code in the box on your screen.
The code should be four digits long.
8. After the code is entered, a gray check badge will be visible in a few days.
Facebook will spend some time looking up your information based on the code you have entered. It will analyze your data and then provide you with a check badge. Facebook does this to ensure a legitimate entity is asking for verification not robots or other automated programs.
Getting Verified with a Document
You also have the option to be verified with a document listed in your business’ name. You can do this if you don’t have a phone number for verification. You can also do this if you have a phone number but you would rather not use it for privacy-related reasons. The verification process requires a few additional steps:
1. Scan the business document and save the image to your computer.
The business document must include a full listing of your business name and address. Try and get as much contact information on the document as possible.
See if you can get the logo or other identifying marks for your business included. Make sure the document has an official appearance.
You can use an appropriate letterhead your business uses or even a utility bill to your name. The content must match up with what you have entered on Facebook.
2. Go to the same Verify This Page link on the General Settings section. Look for the option that lets you upload a document.
3. Add the document from the proper spot on your computer and upload it.
4. Give Facebook a few days to review the document for verification purposes. It should take about the same amount of time as if by phone.
You could use a document if you have a business plan ready but do not have a phone or you want to keep your phone data under control. Make sure any documents you send out for verification purposes are clear and easy to read.
Facebook needs to match everything you submit with the content on your profile. Be patient as it can take a bit of time for Facebook to review your documents like when it is analyzing your phone data.
Staying Verified
While it is easy to get your Facebook page verified, likewise that it becomes unverified. This happens if you start sharing false information or if you are hurtful to others.
People who feel that your page is harmful to Facebook can report it to administrators to have its verification removed. This would quickly cause your site to be harder to spot, let alone tough to trust.
Proper conduct should be observed while on Facebook so you will not be at risk. There are a few things to do to keep you verified:
• Make sure you keep the information on your site accurate and detailed.
• Do not become hostile or harsh to visitors.
• Be willing to talk with others about things that relate to your business. You can answer any question a guest has.
• Keep your content unique. Facebook could punish sites that try too hard to be like others to the point where they appear to copy information.
Be active and illustrate a vested interest in your site. Although the odds of you getting that verification removed from your page if you are inactive are minimal, you should still think about how well you are marketing yourself online and that you are active when trying to promote your work. That special badge on your site is all about giving people a reason to trust you.