To really understand Twitch, you have to go on Twitch, so let’s do that in this post. I’ll explain all the components of a Channel Page and a livestream briefly and we’ll get into details on how to set your channel up.
THE THREE STREAMER LEVELS
One key thing to know beforehand is that there are three user levels on Twitch.
1. Basic (everyone)
Every Twitch user starts out here. At the basic level as a streamer, you get all the features that Twitch provides that are not attached to monetization. So, you can stream video, use the chat, be followed by viewers, and archive your streams. As a viewer, you can watch, chat, subscribe, and buy virtual currency (Bits) to spend on gifts for the streamers. Streamers can still accept donations from viewers at the Basic level, but they have to use third-party (off-Twitch) streamer services to process the payments.
2. Affiliate (streamers)
Affiliate is the first level of being able to earn revenue from Twitch as a streamer. You can run ads on your channel and viewers can subscribe to your channel and spend Bits on virtual goods during your stream. You have to hit certain viewership benchmarks before becoming an Affiliate. Affiliates get a share of the revenue from ads run during the stream and that viewers spend in their channel.
3. Partner (streamers)
Partner is much like Affiliate but the benchmarks to become Partner are higher. When Partnered, streamers can do all an Affiliate can plus offer more features to viewers and be eligible for promotional support from Twitch.
Technically, every Twitch user has a Channel Page and can stream. Though there is no designation between users on Twitch, in this post I’ll refer to those who stream as creators or streamers and those who watch as viewers.
THE CHANNEL PAGE
The Channel Page functions much like a profile page on social media. It’s the channel owner’s home base where people watch the streams, chat, watch archives of past streams, and learn more about the streamer. Everyone has a Channel Page, even if all you do is view streams.
The Channel Page consists of a Video Player, Panels below that with information uploaded by the channel owner, a Chat Window to the right that is always active, and navigation across the top so viewers can watch archived videos.
Channel Page Navigation
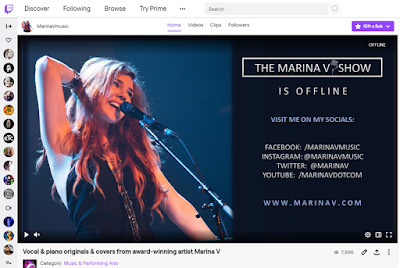
Your Channel Page navigation looks like this.
The channel name is your Twitch username and clicking on it or on Home takes you to the main Channel Page with the Video Player and Panels and Chat Window.
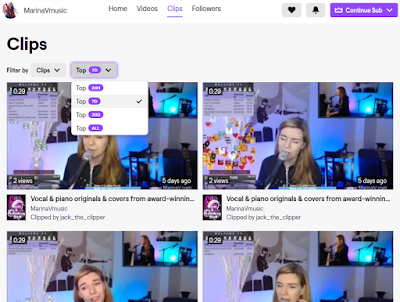
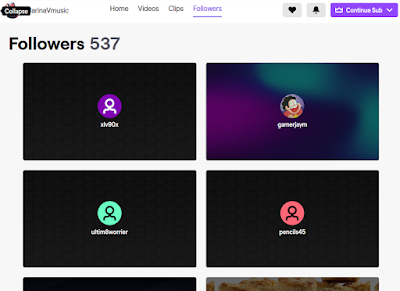
Videos and Clips are the next most commonly used pages and are where on-demand videos of past streams are stored. Followers is a list of who is following the channel. The heart and bell to the right are where viewers follow you (heart) and set their notifications (bell). Subscribe is where viewers can subscribe, re-subscribe, etc.
Channel Name and Avatar
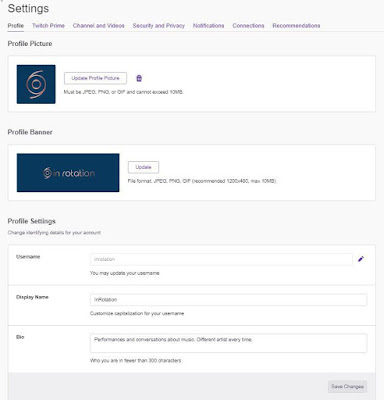
Your channel name is your username. You can customize the capitalization of your username or change it completely in your Account Profile under Settings. The avatar image next to it is customizable.

Videos
Twitch can archive your past streams in the Videos section of your Channel Page so that viewers can watch them on demand. Very few viewers watch entire past streams and the files are huge, so the archives are only up 14 or 60 days after you went live, depending on whether you are Partnered. You can opt to not archive your streams and can delete them once they are up.
You can upload videos to your Videos page or make Clips (up to 60 seconds) or Highlights (longer) from past streams using Twitch’s video editing tools and post them here. You can also organize them into Collections (“New Songs,” “Music Videos”), sort of like YouTube. Those videos don’t expire. Users can filter what they see on this page by using a drop-down tool.
Clips
Viewers and you can create clips of your stream, which are snippets up to 60 seconds, and give them custom titles and share them to socials. Clips are usually songs or funny moments from the stream. When they are shared to socials, only a screenshot and the link to the clip on Twitch is shared, the video itself is not embedded in the post. The Videos section of your Channel Page will have Popular Clips listed. The Clips section lists all clips.
To create a clip, the viewer would mouse over your video (on a phone they would click the video) then click the director’s clapboard icon. They can do this with a live or archived video. A page will open that lets them edit a clip from that point up to 60 seconds prior and create a title for the clip.
Channel owners can create highlights from archived shows, which are like clips but can be longer in length. Clips are more popular. You can delete clips and highlights regardless of who posted them.
Followers
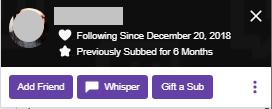
This is who is following you. Anyone can see this. You will always see a count and you can click on it to see a list of which users are following you. Followers are different from subscribers. It’s free to follow and just informs the viewers when you are live.
Streamers can offer perks to followers, like limiting chat activity to followers only. This is helpful when you have thousands of viewers at once and the chat is moving too fast to read. You can also program it so new followers have to wait a certain amount of time after following to post to the chat. That helps discourage trolls. You probably won’t need to do either of those things when you start out.
Follow/Heart and Bell
To follow a channel, click the “(heart) Follow” button in the top navigation.
Once you’ve followed, the Follow button turns into a heart and a bell appears next to it. If you click the heart again, you’ll unfollow the channel. You can click the bell to turn on or off notifications of when the viewer goes live. You can also go to your Account Profile’s Settings > Notifications to change how Twitch notifies you.

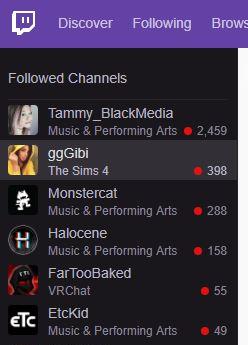
When a channel you follow is live, it will show in the left-side navigation of the site with a red dot next to its name regardless whether notifications are on.
Subscribe
Streamers who have Affiliate or Partner status can offer paid subscriptions to their channel and share in the revenue collected. Subscriptions have three tiers: $4.99/month, $9.99/month, and $24.99/month. The difference is mostly how many and what kind of custom emotes and custom badges you can make available to your subscribers. You can also make some streams and on-demand videos viewable to subscribers only.
If you want to subscribe to a channel, click the subscribe button in the Channel Page navigation. You’ll see the subscription options pop up.
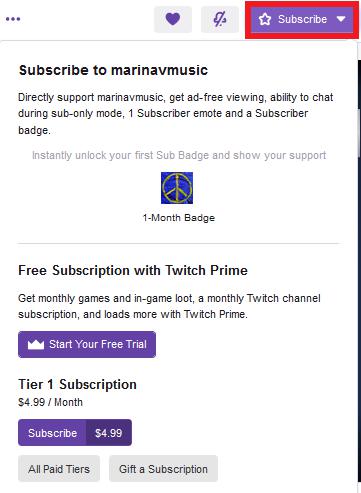
If you have Amazon Prime, you can subscribe to one channel per month for free.
Log into your Amazon Prime account, then go to twitch prime and connect your Amazon account. When you subscribe to a channel, you’ll now see the option to do it with your Prime account.
If you don’t see a subscribe option, the streamer is not an Affiliate or Partner yet.
Video Player
When you are live, the Video Player will show your stream. When you are offline, you have a couple options. You could upload a static image with information about your stream, as this streamer has done.
You could host another channel, which means that channel’s currently live stream would show in your Video Player. Streamers do this to support other streamers.
There are settings to automatically change the Video Player from an showing an image to hosting. This is what it looks like on your page when you are hosting another channel. There are indicators on the video and in the chat.
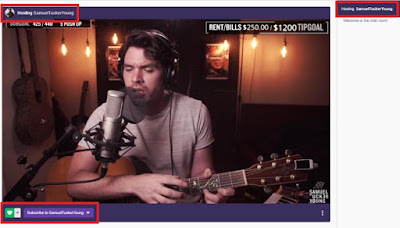 |
| SamuelTuckerYoung being hosted by another streamer |
Panels
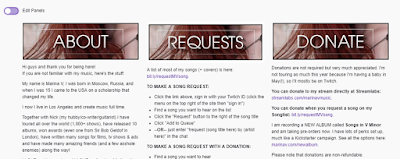
Panels are those informational blocks below the Video Player. Twitch has a module where you can upload images and text and move the Panel order around. In this example, About, Requests, and Donate are each individual Panels.
If your viewers are watching from a mobile device, they may not see your Panels at all because they are under a tab called Info that you have to scroll to see. The majority of Twitch users are on a desktop when they are watching, so it’s worth making the Panels look on-brand and have useful information.
THE LIVESTREAM
Your livestreams take place on your Channel Page in the Video Player and the Chat Window. Let’s dissect what is happening during a livestream.
Video Player
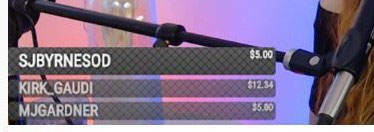
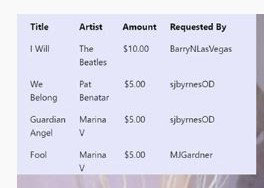
This is what viewers watch and it shows the streamer in real time. In this case, the streamer has chosen to use two camera angles, one head-on so she can make eye contact with viewers, and one from the side so they can see her playing. The song list, donation alert, URL, and list of who made donations are all called Overlays. Overlays are super fun and make the stream come to life.
Chat Window
The Chat Window is to the right of the video player and is where viewers communicate with each other and with the streamer (who reads the chat as they stream).
To post a message to the chat, write something in the box where it says “Send a message” then click Chat. The message gets posted to the chat chronologically with your username preceding your message.
To help manage the conversation, streamers have moderation tools to slow the speed of the chat, limit the chat to followers or subscribers only, have chat rules pop up before a viewer makes their first post, filter out certain word and phrases from posts, delete messages, and ban or block viewers. Streamers can also assign moderation privileges to other Twitch users. It is very common for popular streamers to have a number of volunteer moderators (mods) helping keep the chat clean, welcoming new viewers, posting informational messages, etc.
Chatbot & Chat Commands
Streamers can program a chatbot to automatically post messages to the chat at predetermined intervals. This is helpful since viewers join the stream at different times and may not know how the streamer prefers to take requests and donations and it’s tedious for everyone else if the streamer is explaining it to each new viewer.
Chatbot messages can also be things like links to the streamer’s Instagram, merch page, Spotify profile, etc.
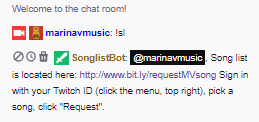
In the example above, StreamElements is the chatbot. There are many chatbot services and they mostly work the same. They can automatically post pre-programmed messages, post a notification when a viewer action has taken place (like a donation), and post a response when a chat command is posted to the chat.
A chat command is a keyword preceded by an exclamation point (like this: !prime). When posted to the chat, the command triggers the chatbot to post a pre-programmed message, in this case instructions on how to subscribe to the channel using your Amazon Prime account. This saves the chat moderators and the streamer time when common questions are asked in the chat.
Emotes
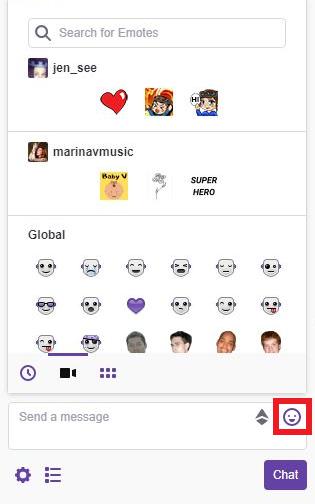
Emotes are what Twitch calls emoji. You can add emotes to your chat post by clicking the happy face in the chat box. A menu of available emotes pops up: global ones that anyone can use, and if you’re subscribed to any channels, you’ll see the ones they have created for their subscribers to use. Click the one you want to use and it gets added to your chat post.
People use emotes to punctuate their comments and to react to the streamer, like a way to visually clap or laugh or dance. If a viewer is watching the stream from a mobile device, they can also post emoji provided in their mobile’s keyboard, but it will not render as well as Twitch’s emotes.
Streamers who have Affiliate or Partner status are able to create custom emotes that only their subscribers can use. The emotes are usually very personal to the streamer, like a cartoon of them, and are sometimes used as a response to an inside joke they have with their audience.
Channel Points
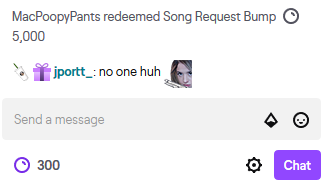
Viewers can earn points on a channel by watching a stream (measured in minutes watched and consecutive streams watched), following the channel, buying cheermotes, buying subscriptions for other viewers, and other activity.
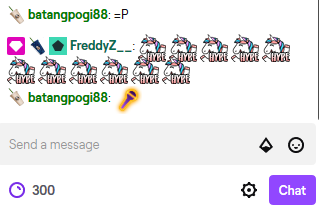
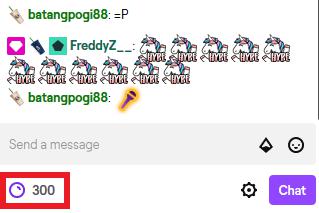
If a channel has channel points enabled, you’ll see the points and your current total right under the chat box.
Twitch presets how many points can be earned per activity and has some preset rewards, but streamers can choose what to offer in terms of rewards and how many points it takes to redeem them.
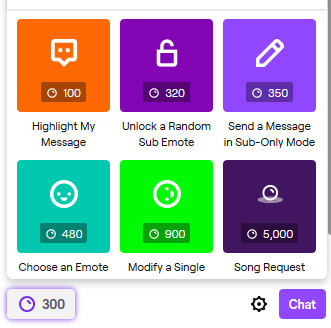
To see what can be redeemed, click the channel points avatar (which you can customize!) and a menu will pop up.
Once a reward is redeemed, it will post the redemption to the chat. “Highlight My Message” will highlight the user’s post to the chat. “Unlock a Random Sub Emote” or “Choose an Emote” will let a non-subscriber use one channel-specific emote for 24 hours. If you have made a custom reward, like “Song Request” above, then it’s up to the streamer to notice that the redemption was posted to the chat and to fulfill it.
Cheermotes & Bits
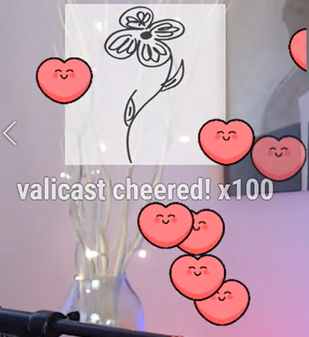
Cheermotes are animated emotes that viewers pay for with Bits (Twitch’s virtual currency which viewers spend real money to purchase). They show in the chat and on the streamer’s video for a short amount of time with an optional message from the viewer. They are similar to animated GIFs. It is a fun way of donating money to the streamer.
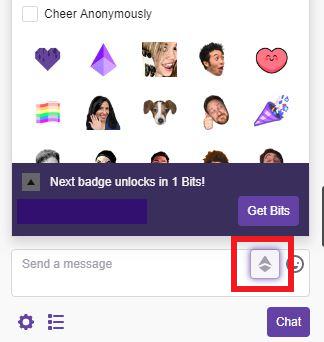
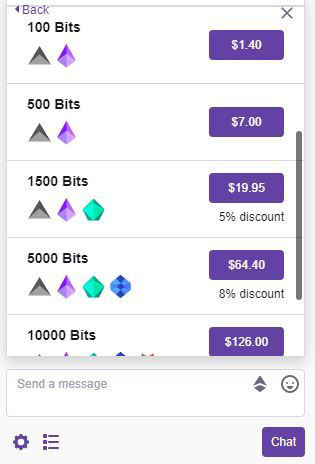
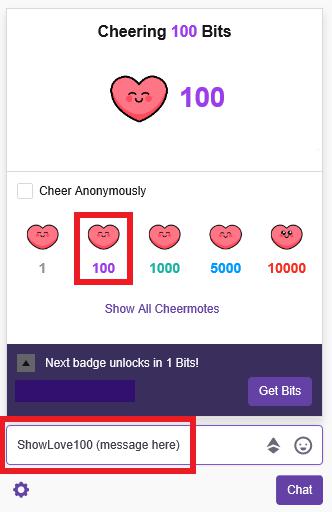
If you want to give a streamer Bits or send them a Cheermote, click the diamond in the chat box, buy Bits, then spend them on a Cheermote. Once you’ve selected a Cheermote to buy, you’ll see the Cheermote command in the chat box. You can add a message for the streamer after the Cheermote command and that will post alongside the Cheermote on the Video Player and in the chat. Click “chat” to post the Cheermote.
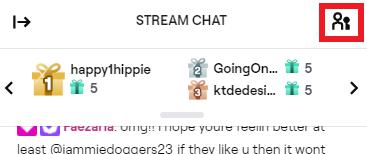
Viewers can also just donate Bits directly to the streamer. The streamer can make leaderboards of who has donated the most Bits over a set amount of time (like a monthly leaderboard). That leaderboard can show up at the top of your Chat Window or in a Panel you create.


